
Dying With Natural Food Scraps
Natural dyes are all around us, often living on your countertop or finding their way into your compost bin before the opportunity to show their ‘true colors’! Meredith from SLO Veg shares her experiences using food scraps and other natural food products to transform ordinary items into extraordinary and colorful keepsakes.
—-
The other day, I was emptying my countertop compost bin (a birthday gift from my roommate) to discard it’s contents into the larger yard waste container outside. Doing the dance shoving socked feet into non-sock friendly flip flops, my right hand plugging my nose, while my left was armed with that green lettuce bag we all know and love, I made my way out the front door and into the night. Keeping that right hand securely fastened on my nostrils, I swung open the lid of the container and tossed my bag of assorted carrot tops, coffee grounds, apple cores and plenty of egg shells into the bowels of my yard waste bin. Out of curiosity, I bravely peered into the container and to my surprise, this bin was more full than it’s equally smelly neighbor, the trash. My initial response was to pat myself on the back for being the sustainability superstar I hope to be. But then the sobering thought that brought me back to Earth was the idea that perhaps, there was still value in my food scraps, and that I could be doing more to extract as much life, nutrients, and potential from these morsels of food before tossing.
The next day I was scrolling through my camera roll and found an image I took back in December from when I had hand dyed canvas bags using soaked black beans. At the time, this was just an experiment that I had tried in search for a unique and personalized gift idea. The bags turned beautifully, emitting a gorgeous lavender blue color once I was finished. Seeing this image, while still feeling insulted by my composting extravaganza the night before, made me realize that there was much more opportunity in my food scraps than I had initially thought. Immediately, I scoured my room and my linen closet and pulled whatever blank canvases I could find. All of last week, I meticulously sorted and organized my plant waste, holding to onion skins, avocado peels/pits, as well as any other scraps with deep pigment.
This week! Tending to the pastel themes of spring as well as Easter and upcoming holidays, I will be sharing my methods to make natural dyes using plants! While the steps below are intended for fabrics (ideally cotton, canvas, and linen) these dyes can also be used for staining paper, or even tinting Easter eggs! If you’re interested in the Easter Egg project, meet me down in step 8.
Step 1: Collect (and Clean!) Your Fabrics
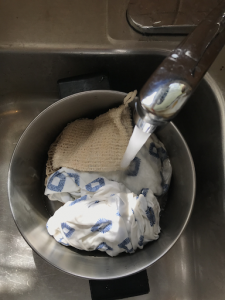
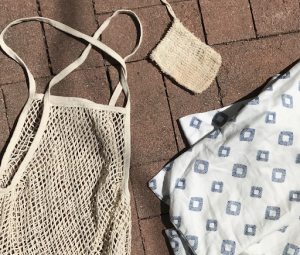
To start, I collected a couple pillow cases, a produce bag, and a smaller bag and sent them through the wash. Once they were clean, I tossed them into a stock pot, filled it with water until the items were submerged and added a tablespoon of salt and two tablespoons of baking soda. The baking soda/salt mixture serves as the “mordant” which helps the plant dye adhere to the fabric and not wash away over time. There are a ton of different mordant alternatives that can be used for this step, but this one was the safest to work with, and easiest to obtain. I’ve previously worked with alum which is commonly used and has been very effective but it’s pretty hard to find in stores.
Step 2: ‘Cure’ Your Fabrics
Then, I transferred the pot containing the salt, baking soda, water, and linen mixture to the stove and brought it to a boil and then let it all simmer for about an hour. Once an hour had passed, I drained the water, rinsed out any remaining baking soda, and allowed my items to dry overnight.
Step 3: Select Your Food Scraps
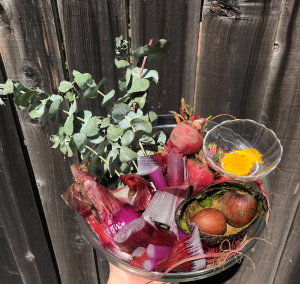
The next day, I selected which food scraps I wanted to use for my dyes. I did some research beforehand to get some insight on what colors I could expect from the scraps that I had, but mainly, went with intuition on this one. For my first batch, I used some onion skins from the onions in last week’s box as well as the candy striped and red beets. I also had some avocado skins that I saved and, just for fun, I added a little turmeric to the batch as well. For my second dye, I used solely eucalyptus, which made my house smell amazing.
Step 4: Make the Dyes
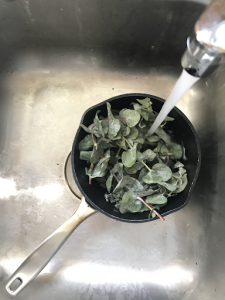
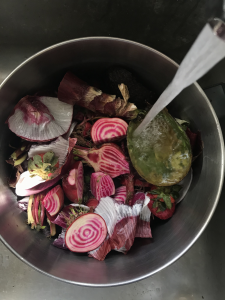
To make the dye batches, I roughly chopped up my beets and then added everything for the first batch into a pot, added water until everything was submerged and then brought to a boil and allowed to simmer for an hour. For the eucalyptus batch, I crunched up some of the leaves and branches with my hands and went through the same boiling/simmering process. If
using a smaller pot, keep a close eye on the water level, adding more water if needed as some will evaporate out.
Step 5: Strain
After the hour was up, I strained the solid material, saving the liquid mixture and transferring that dye into a new, clean pot.
Step 6: Soak Your Fabrics
Then I pulled my now dry linens from my clothes line and transferred them to the dye pots. I decided to put the produce and smaller bags in the eucalyptus dye, and the pillow cases in the beet/onion/turmeric dye bath. I found that in both pots, there was not enough dye mixture to fully coat the fabric so I added a bit of water to each until all of the fabric was submerged. I then covered the pots and let sit for 24 hours.
Step 7: Rinse Your Fabrics
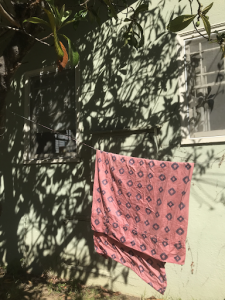
The next day, I removed the linens out of their dye baths and rinsed them until the water ran clear. Then I hung them out to dry and boom!, there you have it, beautifully hand dyed fabric to brighten any space!
Step 8: Non-Fabric Dying*
*This step is only for those who are not dyeing fabrics but are still interested in plant-based dyes. To stain Easter eggs, go ahead and follow steps 3-5. Once you have your completed dye baths, let them cool to room temperature and then you can start soaking! Soaking duration periods can be anywhere from 10 minutes to 4 hours depending on how pigmented you’d like the color to be. Both white and brown eggs work for these dyes, although the colors will be slightly richer on the brown eggs.
Results
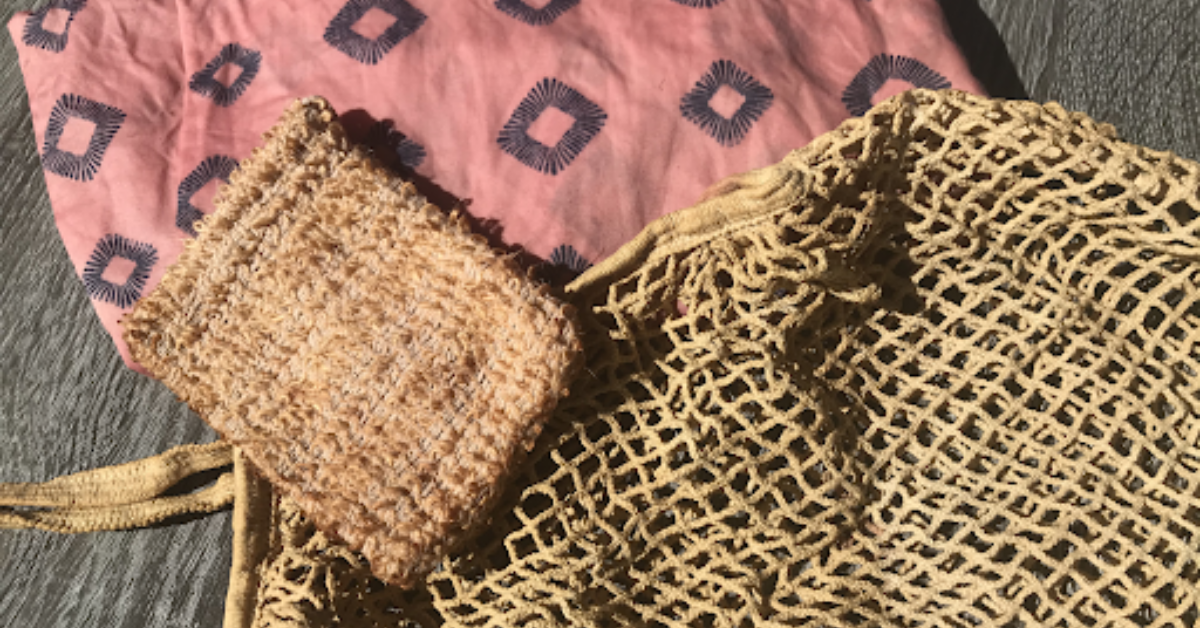
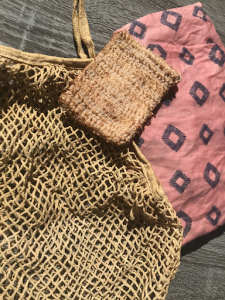
The pillowcases turned out beautifully although I had a bit of trouble with getting the dye to adhere at first, I actually had to dye them twice to get the color payoff that I ended up with. I think I struggled with this since this fabric had likely been treated before I purchased it, treated fabric is great when we accidentally stain it, but not super great when the staining is intentional.
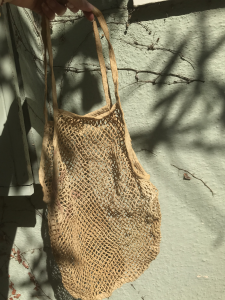
The bags treated in the eucalyptus bath turned out to be an earthy greenish-yellow, I really liked the way that these turned out and look forward to using eucalyptus in future projects.
If you try this out project, we’d love to see it! Email us pictures or tag us on Instagram @sloveg.
Leave A Comment